How to Make the Perfect Wedding Timeline
On your wedding day, you won’t just be showing up to the venue and seeing what happens! Before the big day, you’ll need to make a wedding timeline that outlines what’s happening, where you need to be, and what the plan is for the day. But, unless you’re a professional wedding planner, you probably don’t have a ton of experience with this, and getting started on the timeline can be a challenge! That’s where this guide comes in – we’ll talk about how to make a wedding timeline, tips for making sure your timeline is just right (not too strict, but not too loosey-goosey either), and some sample wedding timelines to get you inspired.
What is a Wedding Timeline?
Before we get into how to make a wedding timeline, you have to know what it actually is! A wedding timeline is an overview of the day you get married – it includes things like when your vendors are arriving, when you need to start and finish getting ready, what time the ceremony starts, and what time the reception ends and everybody needs to go home.
The wedding timeline is there to make sure everyone is on the same page, that the day is planned out so that everything can go smoothly, and to keep you on track and let you (along with your vendors, your wedding party, and anyone else who needs to be in the loop) know where you need to be and when.
Now, a good wedding timeline should be detailed, but it shouldn’t be a strict minute by minute plan that you feel pressured to follow perfectly. While it’s definitely important to create a wedding timeline and to keep things on track throughout the day, it’s also really important to have a good time on the day you get married! This means your timeline should have a little bit of wiggle room, and allow you to be a little bit flexible. In the next section, we’ll talk about tips for how to make a wedding timeline that keeps you on schedule without feeling too restrictive!
Tips for Making the Perfect Wedding Timeline
Before you create your wedding timeline, here are some tips to keep in mind!
Add Extra Time
One of the most important tips when it comes to how to make a wedding timeline is to always add extra time to just about every single part of the day. An extra 15-30 minutes will help a ton, and even if you don’t end up needing those extra minutes, it’s always better to have more time than to be rushing constantly and feeling like you’re behind all day.
But, the truth is that on wedding days things fall a little behind schedule more often than not, and things tend to take longer than we think they will! Leaving that little bit of buffer room will take care of things like traffic, loading things and people into the car if you need to travel to your wedding venue, and absolutely anything else that might come up. It’ll also ensure that you’re able to relax, and that you can enjoy the day without feeling like you’re just running from place to place.
Think About Travel Time
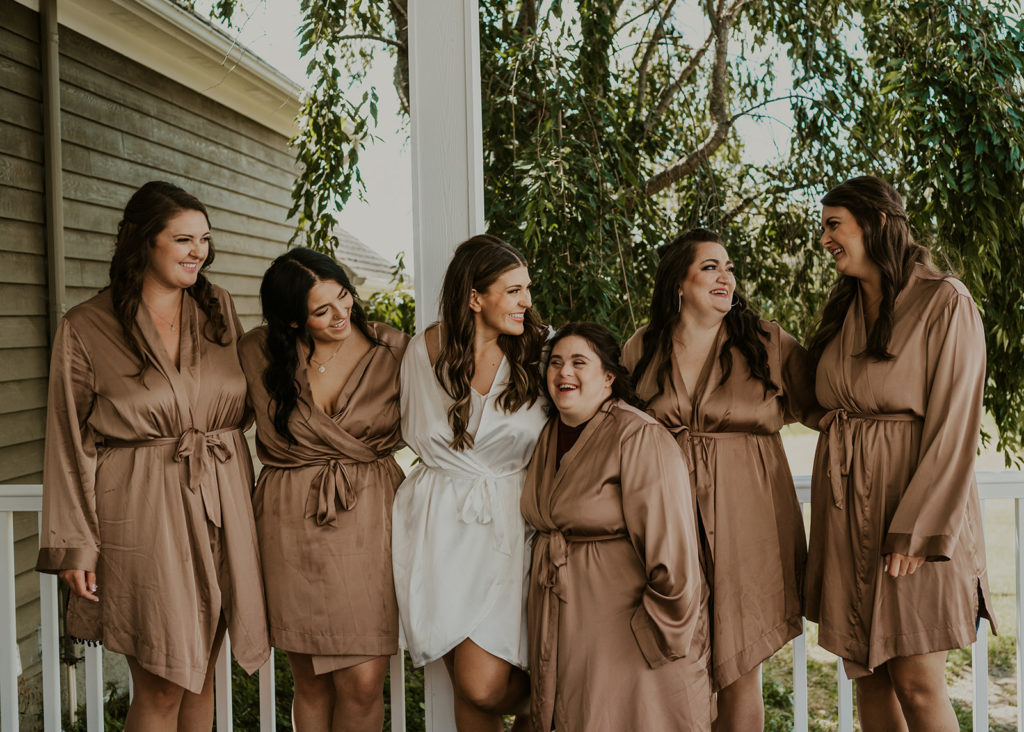
If you need to travel on your wedding day, for example if you’re getting ready in a hotel and need to drive to your venue, you’ll definitely need to add this to your timeline! Look up how long it will take to get to your destination, and of course, add some extra time – this will help in case of traffic or any other delays.
Plan Around Lighting
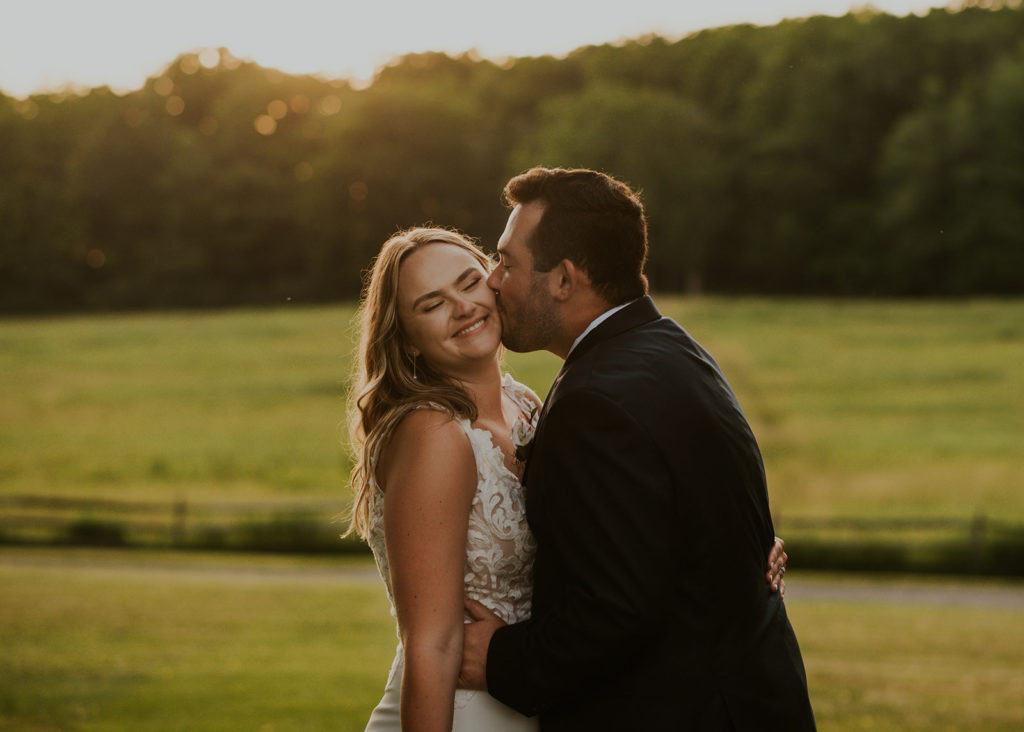
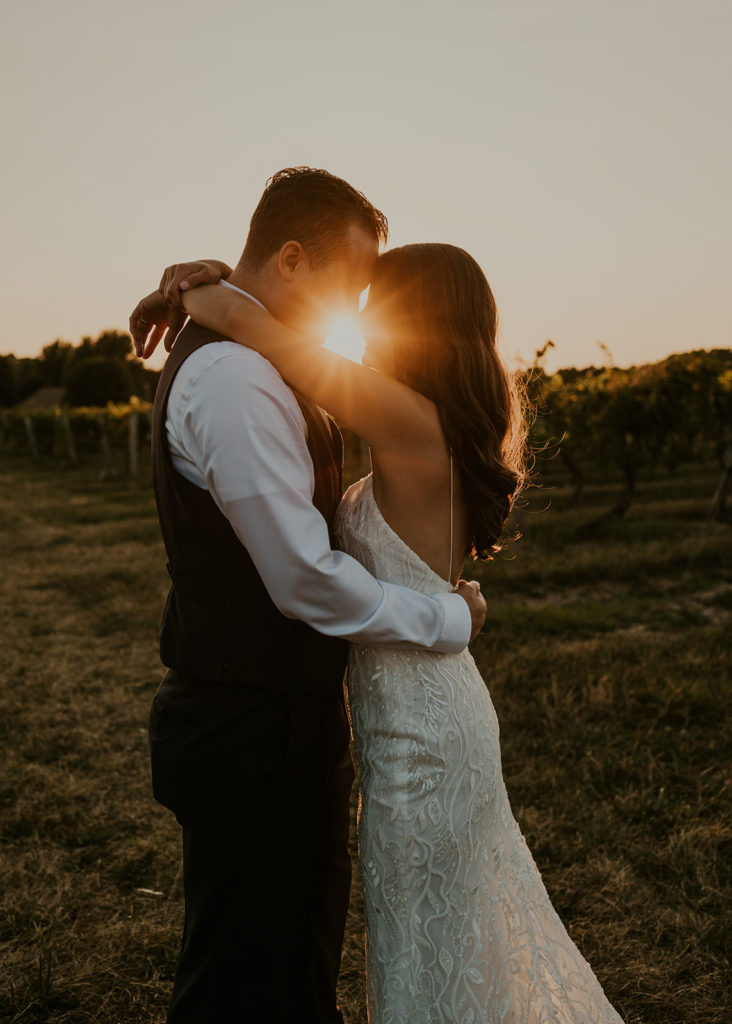
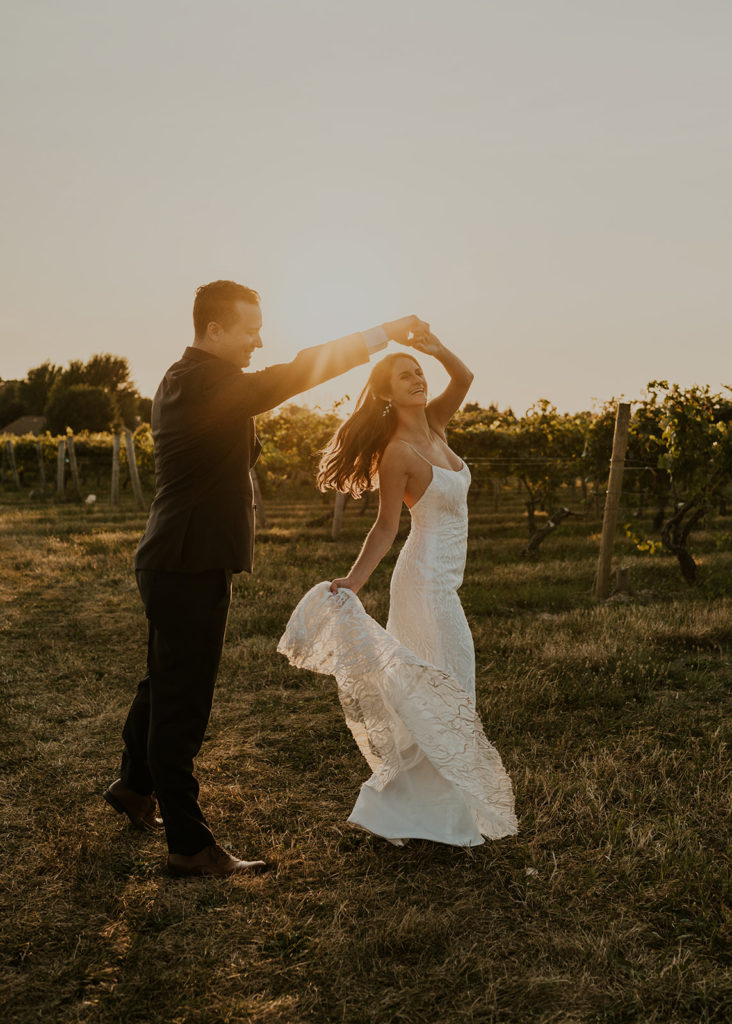
If you’re able to, planning your wedding timeline around lighting will make a huge difference for your photos. midday sun can be really harsh and it creates shadows on your face, whereas in the morning and evening, the lighting is much more even.
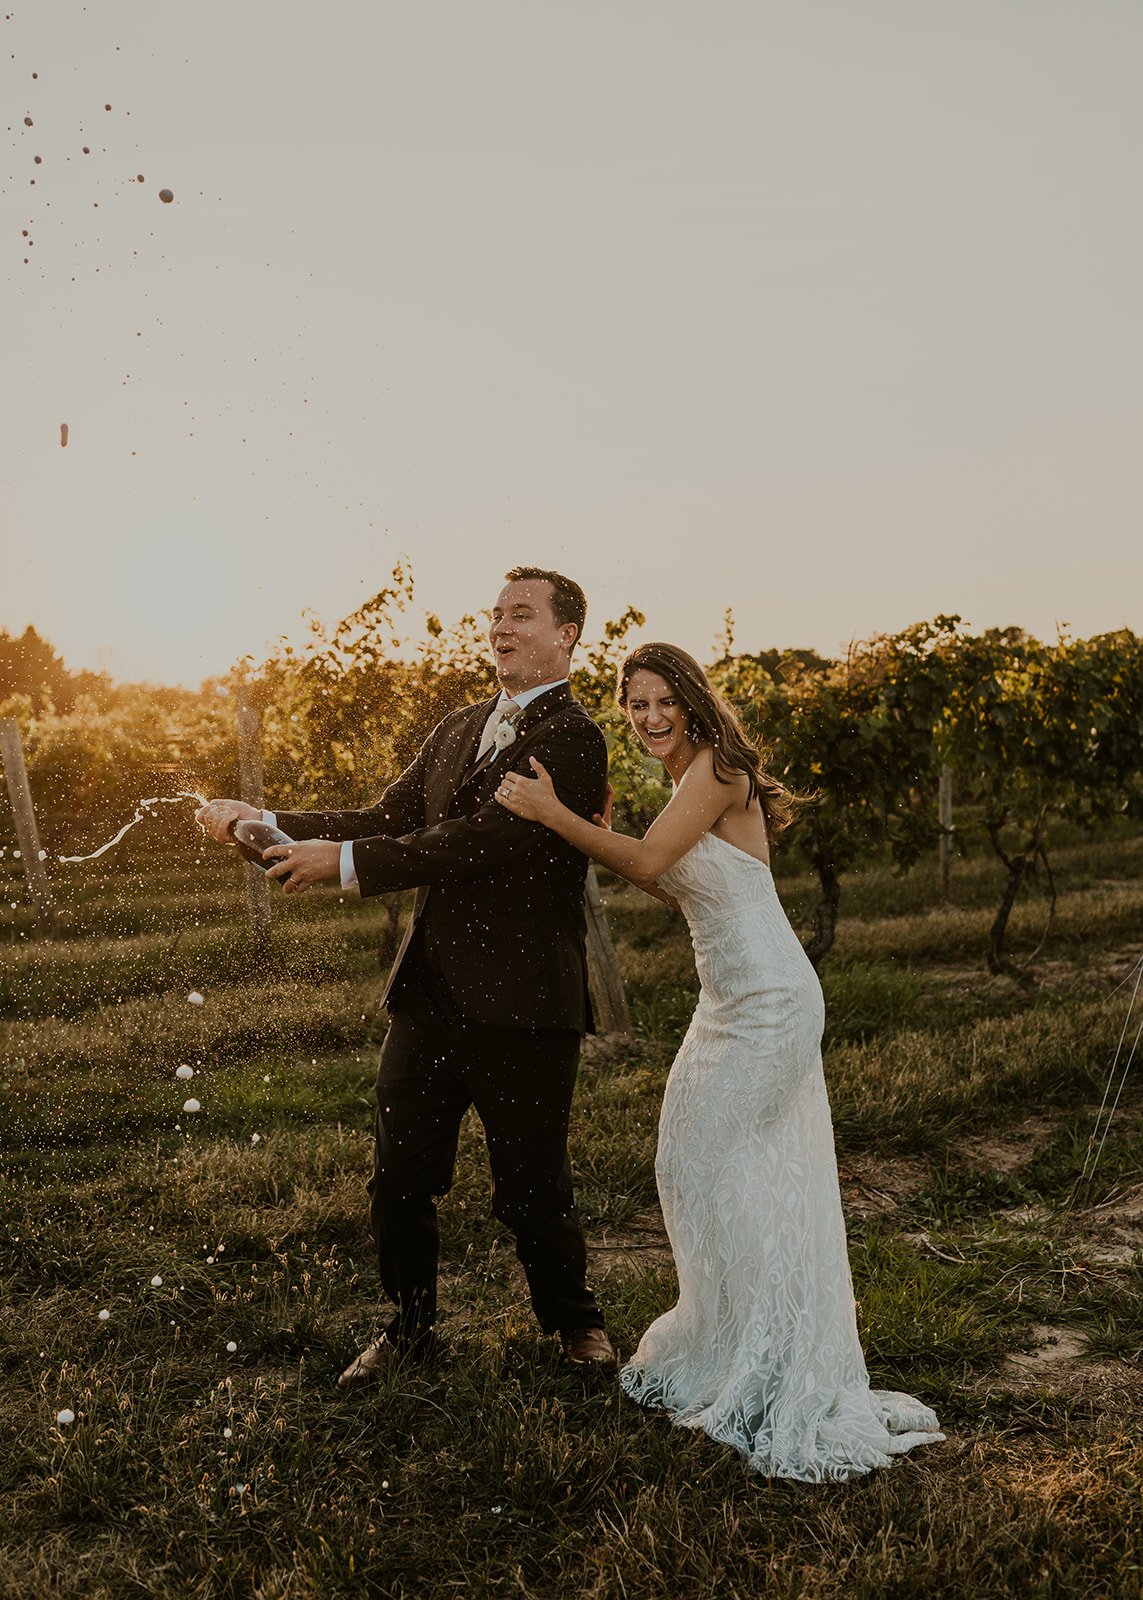
Definitely consult your photographer about this, as they’ll be the expert in lighting – but in general, it’s best to plan your ceremony for a little bit later in the day (this depends on the season, but generally 4 PM and later is best in the summer months). Along with taking couples photos throughout the day, many couples also schedule a little bit of time during the sunset to take some more photos together! This is when the lighting is best, so it’s a great opportunity to take some portraits.
Make a List for Family Photos
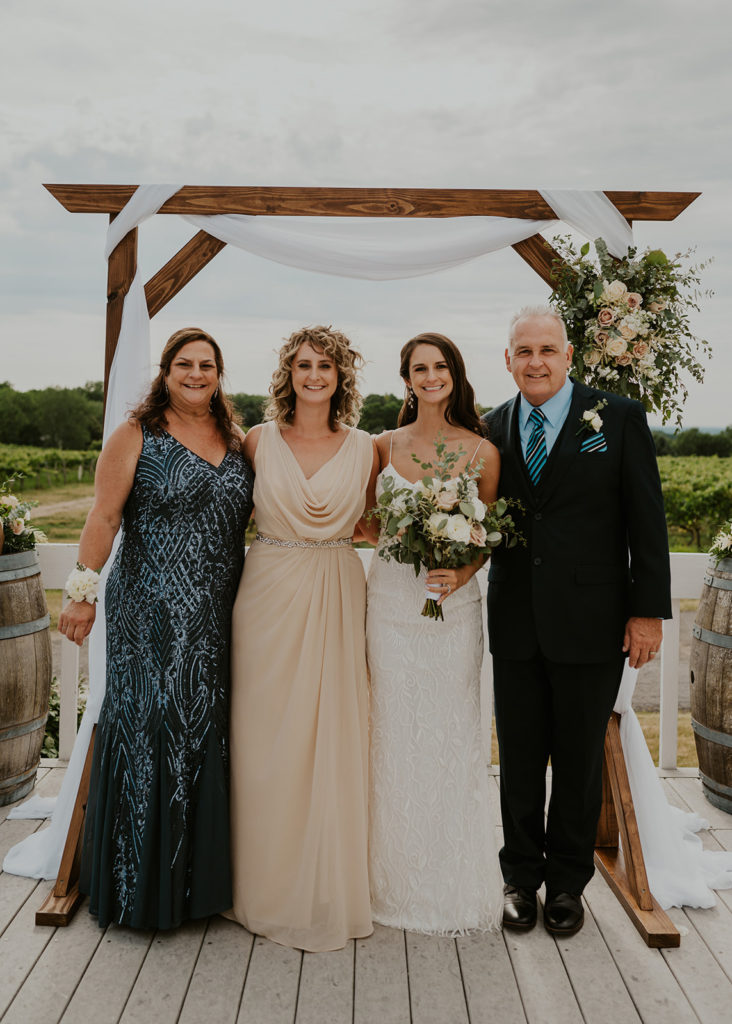
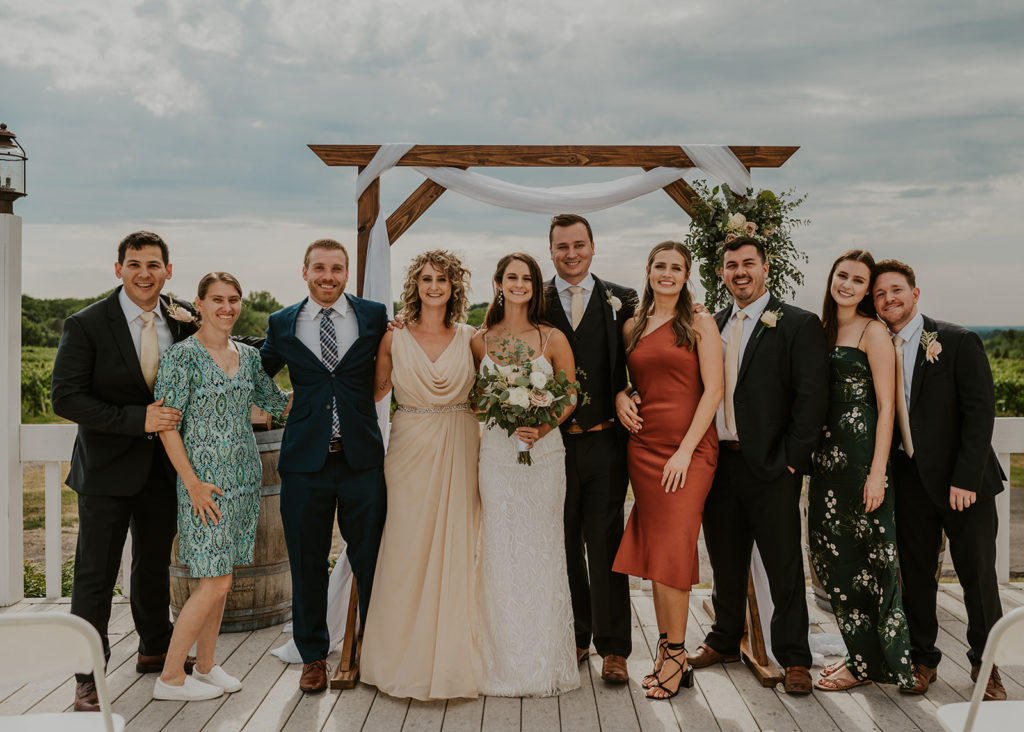
Depending on how big your family is, it’s usually really helpful to create a list of shots before the big day. This will help the timeline go more smoothly, as you can give this list to your photographer and they can shout out names for people who need to be in the photos. You can also give this to any family members ahead of time – that way, they know what photos they’re in, and they’ll know not to wander too far away in between.
Do Sparklers Earlier in the Evening
A lot of couples want to do a grand exit – for example, having your guests line up with sparklers and wave them as you run through it, but it can actually be better to do this a little bit earlier in the evening, before you’re actually ready to leave.
At the end of the reception, there’s usually a lot of dancing – and while this is super fun, the photographer often ends up getting a lot of the same photos for the last few hours if they stay the entire time. But, you don’t want to miss getting photos of the grand exit, so doing sparklers (or ribbons, or whatever else you have planned) earlier can be a great solution – your photographer can snap photos of it, and you can get back to dancing the night away. Guests also often leave early, so if you wait until the very end of the night to do a grand exit, you likely will have fewer people in your photos.
Take Time for Yourselves
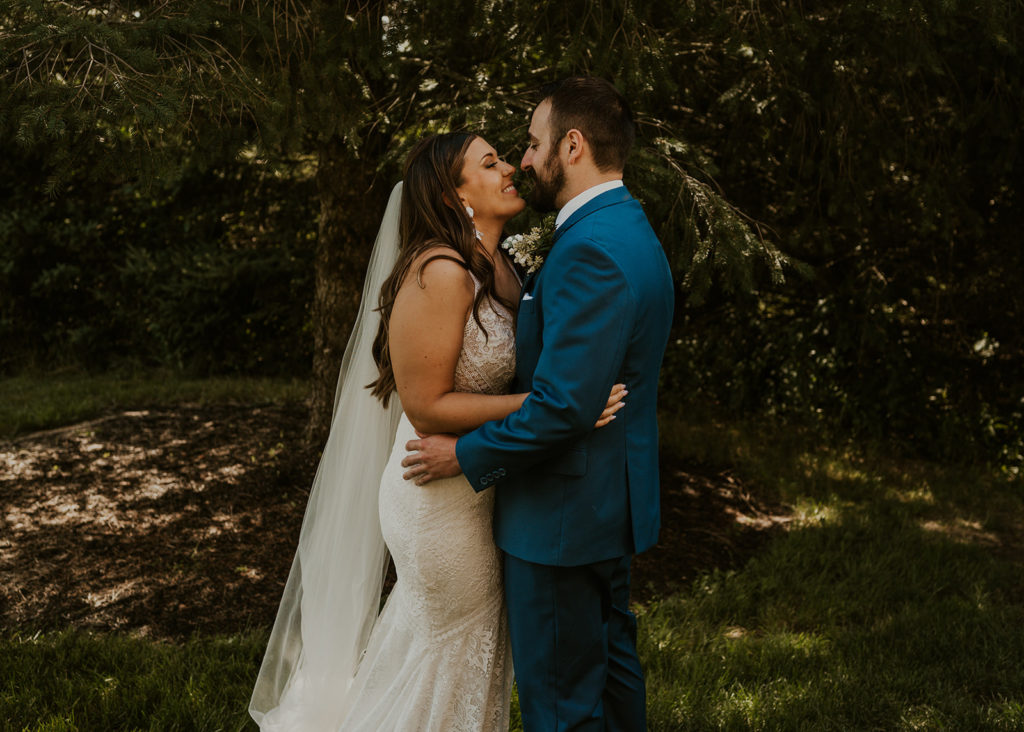
Another tip for how to make a wedding timeline is to add a little bit of time for just you and your partner. This can be after your first look, or after your ceremony, or even during the reception – whenever you feel you want to take a break. Your wedding day is all about you, so taking a little bit of time to just hang out together is really important, and it can help you relax and feel connected to each other. It also gives you a little break from the action!
Sample Wedding Timeline
Every wedding is unique, so be sure to consult your photographer and other vendors, and personalize your timeline to fit you and your day! Here’s a sample wedding timeline to give you an idea of what goes on.
- 10:00 Hair and makeup artist arrives
- 10:30 Hair and makeup begins
- 11:00 Florist arrives and begins setting up for ceremony
- 12:00 Photographer arrives and does detail shots – getting ready photos as hair and makeup is finishing up
- 12:30 Couple changes into their wedding attire
- 1:00 First look and couple’s photos
- 1:30 Photos with wedding party
- 2:30 Family photos
- 3:00 Couple hides as guests begin arriving, Caterer and DJ arrivee and begins setting up
- 4:00 Ceremony
- 4:30 Cocktail hour while couple takes photos together
- 5:30 Guests are called to sit for the reception
- 5:45 Couple’s entrance into reception
- 6:00 Food is served and guests are called up by table
- 7:00 Toasts begin
- 7:30 Couple leaves for sunset photos
- 8:00 Couple returns for first dance
- 8:30 Cake Cutting
- 9:00 Sparklers
- 9:30 Dance floor opens
- 10:00 Photographer leaves
As you make your wedding timeline, be sure to talk to your photographer about lighting, how long everything takes, and for more help with creating the perfect timeline!
